Wednesday, December 31, 2014

Rock Tumblers Rotary Versus Vibratory

Whenever we're travelling, we're on the hunt for those quaint little gift shops that are filled with nautical treasures, handmade crafts and colorful, tumbled stones.  I usually cannot hold back...  I have a need to touch and hold them; they're so shiny and pretty!  Who could resist?

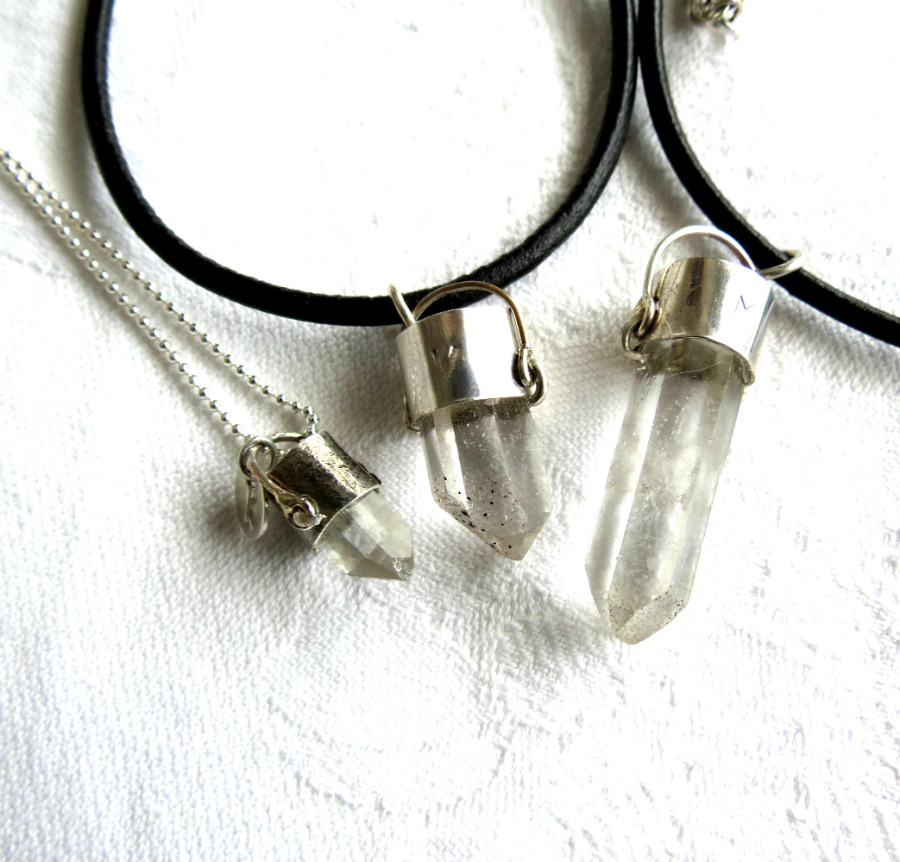
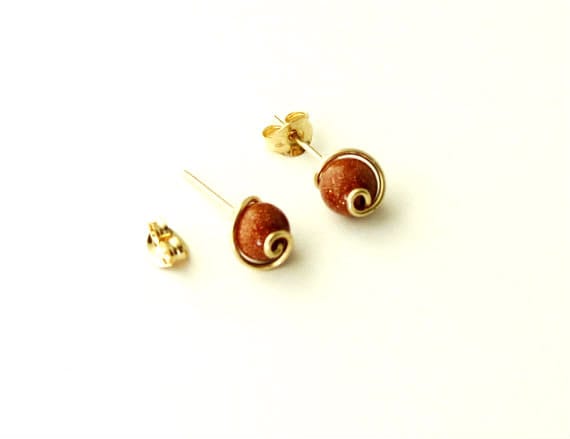
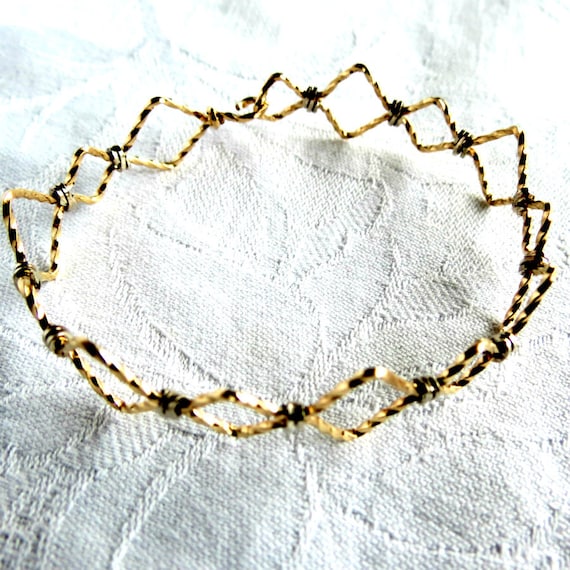
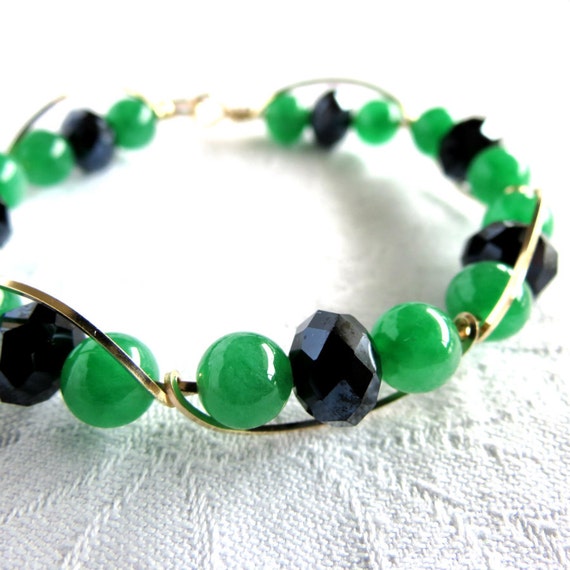
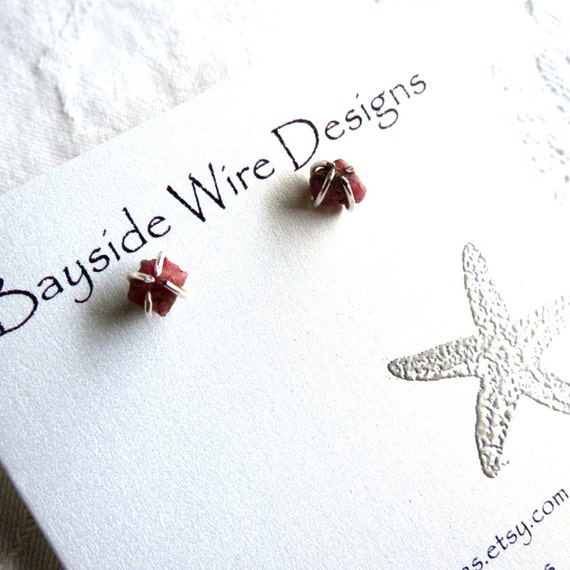
Years ago, when I first embarked into the handmade jewelry business, rock tumbling was a major part of my business.  We collected beach stones, learned the art of tumbling and used the polished stones to make beautiful, one of a kind jewelry pieces.  Here are a few examples of polished, beach stones in wire wrapped settings:   beach stone Quartz ; Jasper and Quartz Mix ; Blackstone Set ; Carnelian Heart  

Other than needing a tumbler and grit, we had no knowledge on how to proceed; what type of tumbler should we purchase: a rotary tumbler, a vibratory tumbler or should we look into making our own?  These are important questions if you're going to make a business out of it, as we did.  

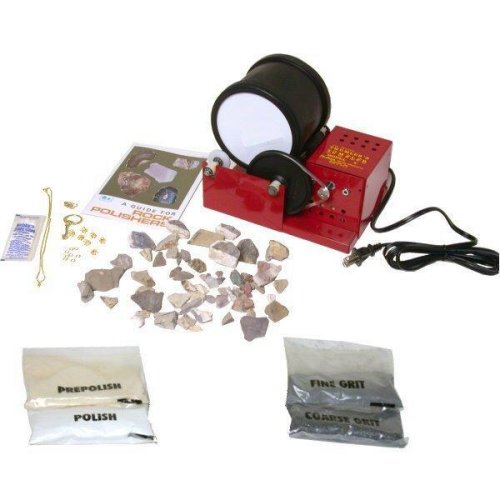
So, what is the difference between a rotary and a vibratory tumbler, and why is this an important factor?  See the pictures below:  the first picture is a rotary tumbler; the second is a vibratory tumbler.   

Rotary Tumbler facts:

-A rotary, rock tumbler has a round drum attached to a motor with a belt.  It basically works much in the same way as a clothes dryer does, but on a smaller scale and with stones instead of clothes;  

-The approximate time to have a smooth, polished stone in this type of tumbler takes up to 2 months (depending on stone type and the finish you desire);

-The rotary tumbler is very affordable and often comes in kits with grits and raw stones;

-The rotary tumbler is best for wearing down really the stone's sharp edges (takes about 5-6 weeks);

-The tumbling action damages some of the stones;

-This type of tumbler can be very noisy especially if you have a cheaper model with a plastic barrel (rubber barrels are quieter and last longer);

-Uses a lot of grit;

-Needs regular maintenance (replace belts, oil and other). 


 Vibratory Tumbler Facts:

-A vibratory tumbler is exactly as its name suggests; it polishes through vibrating motions;

-There are no belts to worry about in this little machine and therefore you save on maintenance.  I've had one of these for almost 10 years now without any problems, and I use it a lot;

-Interestingly, the shape of the barrel or "hopper" encourages your mixture of rock-water-grit, to turn on itself over and over again (kind of like a slow stirring motion).  This gives you double polishing action;

-It's quite quiet when you compare to the rotary tumbler.  I keep mine in the laundry room in our basement.  I leave it on the floor and I can barely hear it on the main floor. 

-I like the rubber barrels (hoppers); they're thick and sturdy and last a long time.  I haven't changed it yet;

-Polishing time is fast compared to the rotary tumbler.  We had a beautiful bunch of polished beach stones within a couple of weeks;

-This vibratory tumbler is more expensive;

-It uses let grit;

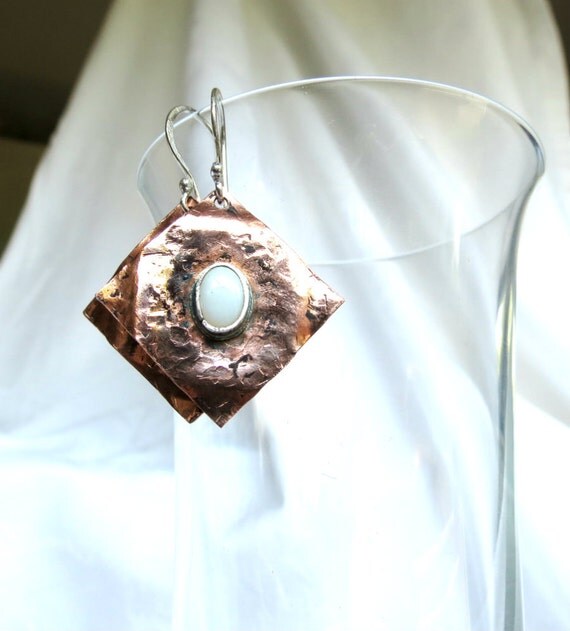
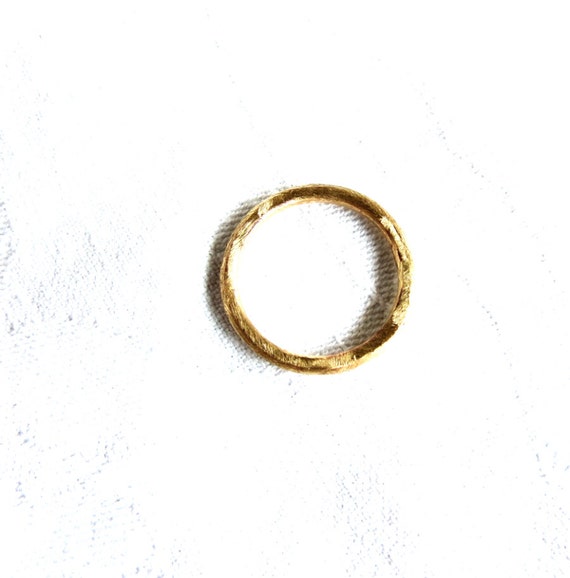
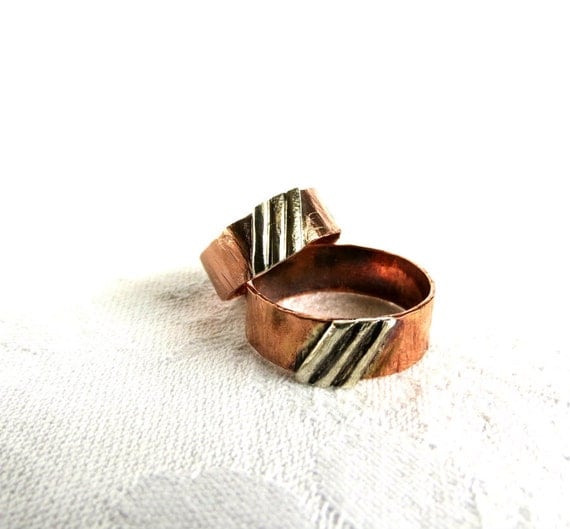
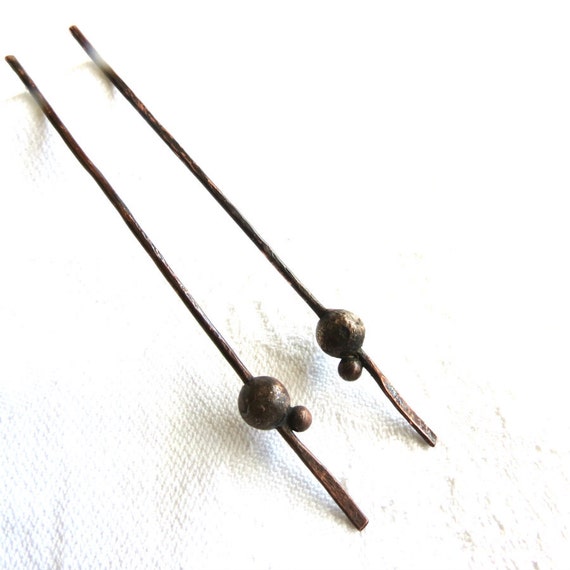
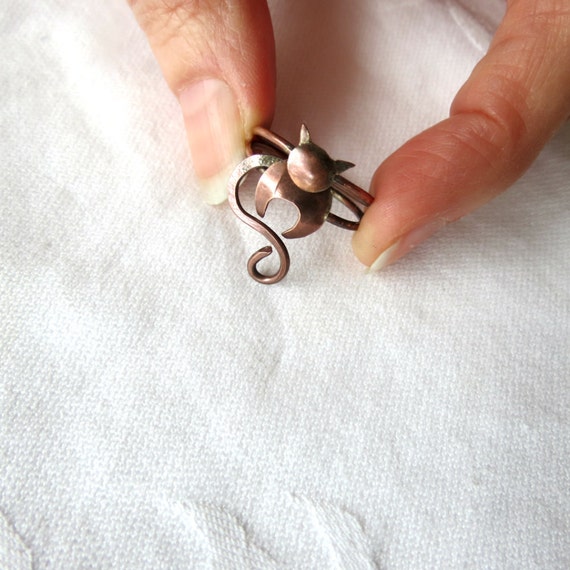
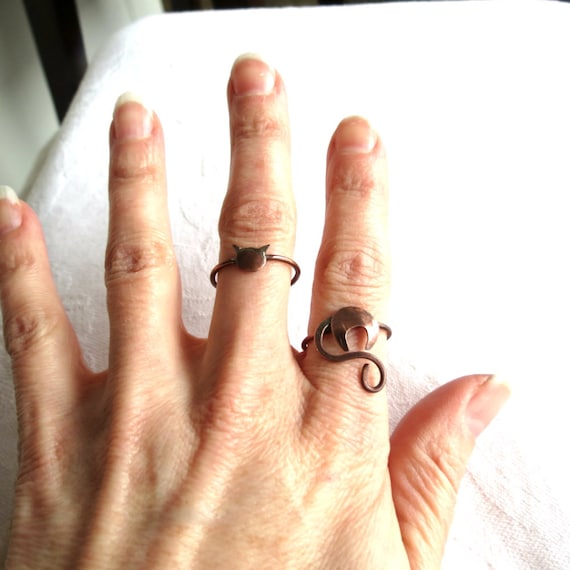
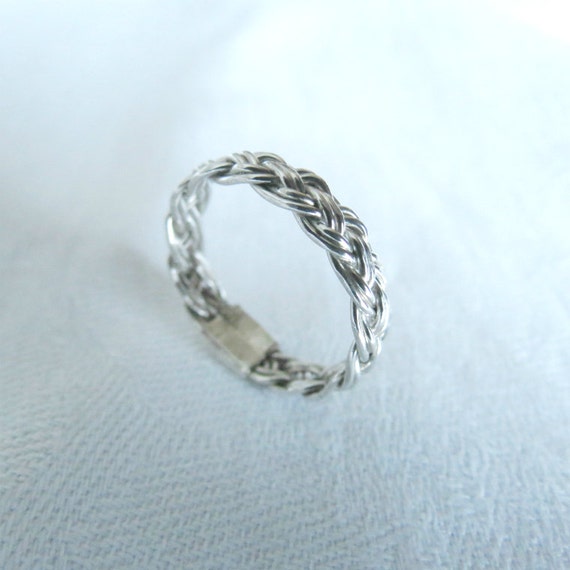
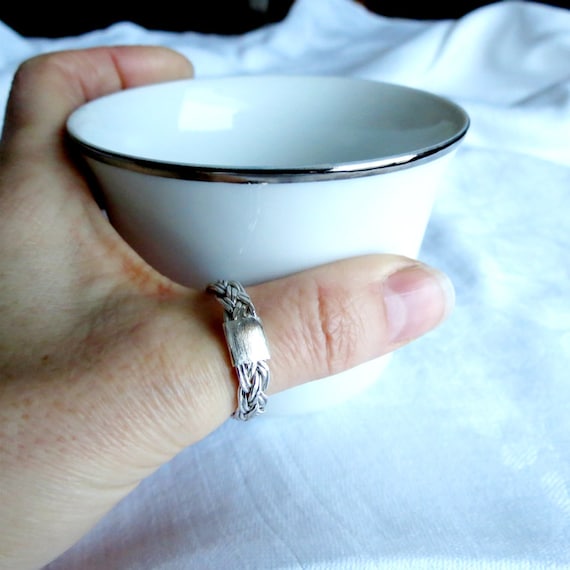
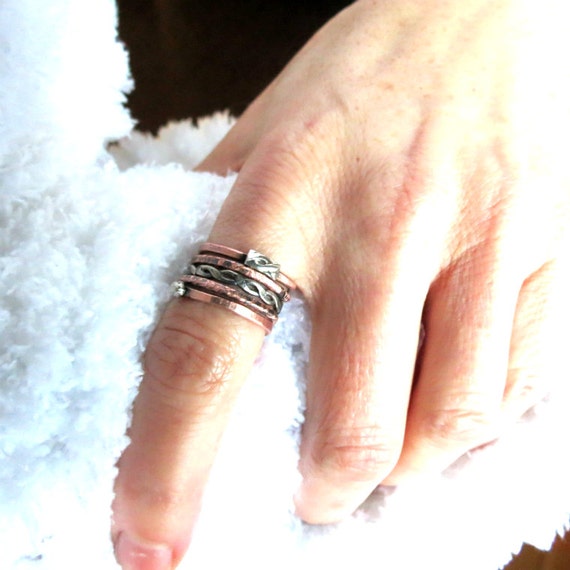
-Great for polishing handmade jewelry; I use it for my silver and copper jewelry and it works beautifully;

-One disadvantage (I believe there is only one), is that the action is not aggressive enough to round out sharp edges on stones.  The vibratory tumbler is better for stones that do not have sharp edges; beach stones are ideal because they're already smoothed and rounded by the sea.  

-This type of tumbler is also the perfect tool for shining cabochons or beads that need a bit of touching up;

-No maintenance as far as I'm concerned.


Ideally, if you're serious about rock tumbling, you would want both tumblers. You begin with the rotary tumbler to smooth out the sharp edges and wear down the stones, then move the stones to the vibratory tumbler for the rest of the steps. By doing it this way, you're saving time (polishing them with the vibratory tumbler is cut 50% or more), plus you will be saving money because the vibratory tumbler uses less grit.

Happy tumbling!


Sunday, December 28, 2014

What Torch to Use for Jewelry Making?

Are you overwhelmed and intimidated when it comes to choosing a torch for your jewelry making projects?  When I first started in jewelry making, I spent many hours researching the subject.  My goal here is to save you the leg work so that you can spend more time making jewelry...  

First of all, if you're only starting out and would like to gain experience in handling a torch and getting a feel of how it works and reacts on metal, I would suggest the Blazer, self-igniting, butane, micro-torch.  It's a great little torch! It handles easily, it's easy to light and has great reviews from experienced jewelers-


Here are a few pros and cons for this micro torch:

-Handles easily (you can hold it comfortably);
-Self-ignites (open the gas valve and press the trigger-you'll hear a small clicking sound and that's it);
-Easily adjust flame strength with valve;
-Heats up to 2500 degrees F (1371.1 Celsius);
-Continuous burn time of 1.5-2 hours;
-Safety component, manually lock the ignition trigger when not in use;
-Flame is precise which is wonderful for small components;
-I have used this torch for larger pieces such as soldering a bezel to a silver plate and it takes longer than my * jumbo torch * (need to be patient);
-Great for Copper, Silver, Brass, Sterling Silver (I never tried it on gold);
-I tried enameling with it (takes long, but it still works);
-Silver Clay (works well);
-Fuel is Butane (easily purchase at any hardware store);
-Super easy to refill with butane - comes with instructions if you're a newbie.
-Measures 6 inches tall.

In my opinion, this is a great little torch.  I keep it handy on my jewelry bench.  It's my go to torch and I would highly suggest this torch for any beginner and even more experienced jewelers.


Now let's talk about the Jumbo Max Torch-


The Jumbo Max Torch is a great torch as well.  

Here are the pros and cons of the Jumbo Max:

-Handles ok, although it's bigger and taller than the Blazer, it measures 7 inches tall;
-Features an igniting system ( no need for a lighter);
-Child proof lock system;
-Maximum heat of 2600 degrees F (1426.27 degrees Celsius);
-The flame is quite large and strong (not precise like the Blazer Micro torch);
-Continuous burn time of 90 minutes (which is good considering how large the flame is);
-It is possible to use this torch for both smaller pieces and larger pieces.  Beware though: it takes experience and you will ruin pieces before you gain that experience.  It's painful when you put lots of work into a design only to see it melt away..  If this is your torch of choice, I would suggest you practice, practice, practice before attempting an important project.  On the upside, I used this torch for years for all of my jewelry making designs because I was on a budget, but now I use both torches for different applications: the smaller Blazer for my delicate work, and the Jumbo Max for heavier work.  

-Great for annealing metal quickly;
-Works wonderful for copper, silver, sterling silver, brass (haven't tried it on gold);
-Wonderful for enameling (because of the large flame);
-Works awesome on silver clay;
-Uses Butane (which you can easily purchase at any hardware store);
-Re-fills quickly and easily;

In Summary:

If you are a beginner and haven't had any experience with torches, I would highly suggest starting with the Blazer GB2001.  As you gain experience, ease into the Jumbo Max as a second torch for your heavier work.  In my opinion, as an artisan, this is a great way to keep your expenses low.  Later, when you're ready to invest and explore, you can get into a more pro jeweler's torch like the Smith little torch, which we will explore in another post.

I hope this review has helped you in making a choice.  Once you learn to use a torch, you're embarking into a whole other dimension of jewelry making!


Saturday, December 27, 2014

Learn How to Make Awesome Jewelry with this Book


This is one of my favorite jewelry making books!  I wouldn't say this is for the beginner though.  I feel that you need a certain basic knowledge of jewelry making before jumping into this book.  I felt it was somewhat advanced.  What I really like with the book is that it has helped me grow as a jewelry artisan.  Through clear photographs and varying techniques, I have learned to push the borders of my designs. I would highly recommend this book!


Friday, December 26, 2014

What Are Crystals


I love stones for their beauty and how each one is unique compared to the other. Crystals are no exception; they are so special in the way that they are formed. Crystal formation is actually referred to as "growing." Since this fascinates and intrigues me, I have decided to research the subject and share my findings with you on my blog.

The first question I will address is "what is a crystal?"

In my research I discovered that it all comes down to atoms and molecules. Simply put, crystals are organized groups of atoms and molecules. When these atoms come together in an organized manner, in a repeated pattern, it's considered a crystal.  The shape and the color of the crystal depend on how the atoms and molecules are placed (they sort of are like the building blocks of the crystal).  These beautiful clusters of repeated patterns are what make crystals so attractive and pretty.   But they're not all about looks. Crystals are a marvel of nature because of  their underlying, complex, mathematical patterns which intrigue scientists to this day.

*My blog contains affiliate links.  When you make a purchase via these links, I may receive a tiny compensation for promoting their product.  Please note:  I only promote awesome stuff I personally love and which have high reviews.  Thank You for your support!

How do they grow?

The chemical composition, temperature, pressure and space will all affect how crystals grow.  Basically, in the right environment, crystals grow by adding molecules to their surface, layer over layer.

Types of Crystals-

There are many types of crystals, for instance, salt, sugar and snowflakes are fascinating examples of crystals.

The rock crystal (clear quartz) is what has captured my attention at this point because not only is it beautiful, it is the most common mineral and has so many applications (in the above photograph, see crystal points cut from a raw crystal chunk which I made into pendants for a customer).  For instance, the watch you're wearing probably conceals tiny quartz crystals (used for accuracy); of course jewelry is a very popular venue for quartz crystal (often used to imitate diamonds); it also has many applications in the roadway system and building materials.

How to grow your own crystal points?

You read right!  You can actually grow your own crystal.  I found these awesome science kits with instructions and all the necessary materials so that you might create the perfect environment to grow your own crystals.


Wednesday, December 24, 2014

Crystal Pendants

I always enjoy custom orders because they force me to think outside the box and that's when the best ideas come. One of my clients brought me some lovely, Crystal point Clusters of various sizes so that I would make pendants for her grand daughters. When I sat at the bench and began cutting to separate some of the nicer Crystal points, the clusters fell apart leaving me with many little Crystal pieces. At first, I was a bit frustrated because things were not going too well with the project. But after some pondering, I came up with the idea of making little, sterling silver flowers with Crystal Clusters as the flower centers. I used Resin Epoxy for this design. I suggested making a different flower for each grand daughter and I personalized it by engraving the back with each one's initial. My client was very pleased with the end result! It's funny how custom orders push the borders of creativity and enables you to create something new and unique. I will be growing on the idea of this design for some of my future designs. I'm already working on something interesting and can't wait to share!

Saturday, November 29, 2014

Black Friday, Cyber Monday Sale

Whenever you see a handmade item on sale, know that this is a big deal-
Why do I say this?  Because artisans are usually a one man show.  You get to see the finished product which doesn’t always seem like a big deal because they seem to make it look like it’s so easy, but the fact is that the finished product is the result of many, many steps.  This is without mentioning the costs for material and all of the time put into design, sketching, measuring, choosing the right materials, putting the finishing touches (that’s a large part), taking pictures, writing up a listing in order to put it for sale, thinking of and purchasing packaging, paying for  the costs of running your own studio (electricity, heating, lights, etc…), and taking the time to advertise it on the web…  Ouff!!  I’m out of breath!!  There’s a lot involved when you’re an artisan!
Support artisans in your community, buy handmade!  :)
**We Thank You for reblogging! :)

Friday, November 28, 2014

Pocket Vase or Wall Vase


Gorgeous, fused glass wall vase or pocket vase is perfect for welcoming your visitors and friends when they enter your home.  Add your favorite dried flower arrangement or add some beautiful colored, fresh flowers; the vase holds water.


Wednesday, November 12, 2014

The Royal Bangle Bracelet

This little gold and silver bangle reminds me a beautiful crown, and so I decided to name it:  Royal Bangle.  Royal bangle has beautiful, 14 k gold filled, twisted, diamond-shaped with a touch of sterling silver.  Lovely little bangle!


Sunday, November 9, 2014

Gold Jade Bangle Bracelet

This awesome, 14 k gold filled bangle with gorgeous green Jade and black crystals will make head turns!  This certainly is an eye catcher ladies!  Want to see more bangles and bracelets? Click here.


Saturday, October 25, 2014

Arrowhead Bracelet for Guys

I designed this rustic, arrowhead copper finding to add to my black leather bracelet.  I've been slowly working on designing more jewelry for men.  This is one my latest bracelets for men (could easily be worn by woman as well):


Wednesday, July 23, 2014

Monday, July 21, 2014

Opal Earrings in Rustic Setting

You will love these Opal earrings!  The smooth, milky white, genuine Opal gemstones look amazing against the fine silver, sterling silver and the rustic, hammered copper metal!

What can I say... I have a thing for contrasting elegant with rustic!!

What a great summer earring!  They would look awesome with casual wear and even for an evening out!  Versatile gift idea for that special someone!  Click here to see more about these little beauties!


Saturday, July 19, 2014

Love this Rustic Wedding Band!

I just finished a beautiful, 2 mm thick wedding band in solid brass.  The ring has a nice, rustic, brushed texture to it.  I love the way the texture reacts to the light; it's almost like a cut diamond; gorgeous!

Go to my shop to see more rustic wedding rings.  Or get one made especially for you.  


Saturday, June 7, 2014

His and Hers Rustic Rings, Wedding Ring, Copper Ring

I am very happy to post my latest creation:

His and hers, rustic rings (use them as wedding rings or not)-   I wanted to add sterling silver lines to the basic ring and I changed it up by setting them on the bias (diagonally).  I really, really like how they turned out!  I always have a deep feeling of satisfaction when I make something and I'm pleased with the overall design; and this is one of those times.

Order your "His and Hers" Rings today - check out the rest of my store while you're there... I'm sure you'll find something you like.  :)


Monday, May 26, 2014

Designs with Raw Ruby Gemstones - Something New!

I received this awesome lot of raw, uncut gemstones and I've been busy designing post earrings / studs, and pendants and possibly bracelets with these - check out the natural beauty below - I used .925 sterling silver for my creations.  I really like how these turned out.  I think I will design a pair for myself. 

I decided to keep the design minimalistic so that all of the focus would be on the ruby gemstones themselves.  Wonderful gift idea!


https://www.etsy.com/ca/listing/190020069/red-ruby-earrings-post-earrings-stud?ref=shop_home_active_10

Wednesday, March 26, 2014

Stick and Stones Earrings

New Earrings - Stick and Stones is the name of these new earrings.  Lovely, rustic copper earrings in post style.  This long, ethnic style earring is lightly textured with an oxidized, dark finish.  They measure 3" long with sterling silver post and butterfly, clutch backs.  See more info here. See more handmade earrings here.


Wednesday, February 19, 2014

Kitty Cat Ring Stackable Rings

This is my latest creation:  Stackable kitty cat rings - the head and the body are on different rings and put together they make... you guessed it... the cat!!

I came up with the idea this morning and with hours I had the thing made.  I went from drawing it on paper, cutting out the body and head out of copper sheet (which I then worked and hammered), I welded the head and body to copper bands that I had previously prepared.  I finished it all off with a copper wire tail (hammered and welded into place). 

I love how the head fits over the body when you put the rings on..  This is probably the most whimsical piece I've ever done so far. 

Whenever I think of cats, it's because of my daughter in law; she is a cat lover!!!  I actually was thinking about her when I designed the rings. 

Although I made these out of copper, I will also make a set in sterling silver and copper (the bands will be sterling and the cat will be in copper).  I believe this will be awesome!! 

Here is a picture of this whimsical project of mine.  Get more info in my Etsy Shop. 

https://www.etsy.com/ca/listing/180002369/meow-2-cat-stack-ringkitty-cat-ringgift?ref=shop_home_active_1


Sunday, January 5, 2014

Braided Silver Wedding Ring Rustic Ring

Lovely and original style of wedding ring.  Six sterling silver wires braided into a sturdy band and finished with a welded plate of brushed sterling silver.  The silver plate can be worn as a feature or hide it and feature the weave (braid) only; you decide! 

Very versatile ring is not limited to a wedding band, it can also be used as  fantastic thumb ring or an all around, cool ring... Click here for more info.  Get one custom made in your size. 

You will love it!

https://www.etsy.com/ca/listing/174754628/mens-sterling-silver-weaved-ring?ref=shop_home_active


Wednesday, January 1, 2014

Rustic Stacking Rings Set of 5

I put together a set of five stacking rings that I designed with solid copper and sterling silver mixed metals.  These are textured, hammered, welded by me in my studio.  Each one is a unique design.  Wonderful set of 5 rings.  Go to my shop to see more information.

https://www.etsy.com/ca/listing/174305968/5-rustic-stacking-rings-bands-copper?ref=shop_home_active