Here is what you'll need:
-Wood tray (can be a recycled tray or an unfinished tray found at your local hardware or craft store).
-Primer (discard primer if you're using Reclaim paint which has primer/sealer/finish all in one paint- Get it here).
-Paint or Minwax PolyShades (a combination of stain and polyurethane in one can- no need to apply a top coat because it's in there). I love this stuff!!
-Fine grade sandpaper (I like the block).
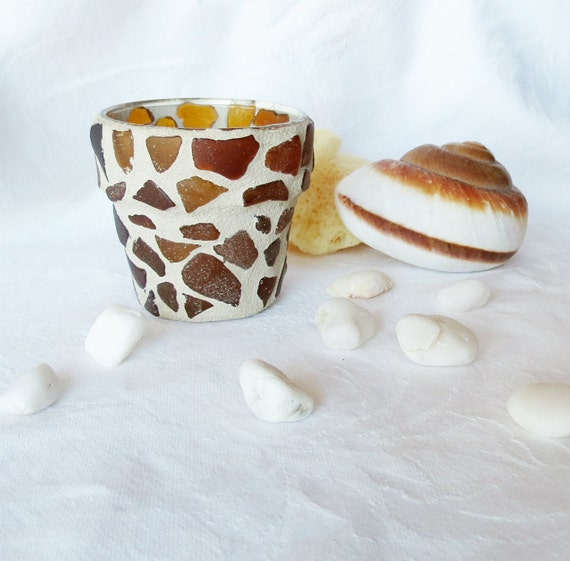
-Lots of beach glass (if you don't have any beach glass, you can purchase some man-made beach glass here).
-All purpose glue- make sure it's a strong adhering glue suitable for glass and wood, and you also want it to dry clear (found at the hardware or craft store).
-An artist's paint brush or foam brush for applying the glue (I used a cheap brush for kid's crafts. I like the one with stiff bristles; it seemed to work best for this application.
-A jar with water (to clean the glue brush once in a while because glue gets thick).
-Paper towel or a clean cloth
-Tile Grout (like a type of cement to fill in the cracks between the glass). It's much cheaper to buy tile grout at your local hardware store, than it is to buy mosaic grout from a craft store. You'll get more for your money at the hardware store. You can sometimes buy leftovers from a flooring company, or perhaps you have some leftover from a tile job in your own house, or from a friend).
-Old Bucket or Container for washing the grout (this might ruin your bucket, so make sure it's not for your household use).
-Painters Stick or something of the sort to mix up your grout.
-Good Sponge for cleaning excess grout.
1. A wood tray (find them at the hardware store of a craft store such as Michael's). Finish the tray by lightly sanding it all over, wipe it clean with a damp cloth. Prime and paint it or stain it with the poly shade (don't forget to sand lightly before staining, and between each coat). **Very important to note: Whether you're painting the tray or staining it, please note that it's better to prime in a white or very light color the bottom of the tray where you'll be laying down your beach glass, because whatever color you will be applying to the bottom will be somewhat coming through the glass once it's applied. I chose a white primer.
2. Draw on a piece of paper different ideas for the mosaic style (you can divide each section of your drawing for each color of beach glass you intend to use in that particular section). Copy the design you like the best on the tray itself with a marker or something of the sort. I did it free hand because my design was not too intricate. You could also make it simple by mixing up the colors of beach glass in no particular order; that would be pretty as well.
3. Prepare your beach glass- I found that it was best to choose very smooth pieces with no chips; it looks much better. I also stayed away from curved pieces because they would only hold very small quantities of glue, I preferred flat surfaces (small or large, as long as I could apply enough glue to them).
4. Now for the fun part- prepare a little work table in front of the TV with your favorite movie. Begin choosing your glass pieces, one at a time, from the pile you've already set aside, brush on a small quantity of glue and add to your tray. I found it was best to start near the line that I had drawn for my pattern.
5. Once you're done, this might take a few movies... make sure you give it a few days for the glue to completely dry (although glue may seem dry, it sometimes will stay moist underneath).
6. Grout: Follow directions on the packaging. Usually, you mix grout by adding water first and then your grout. I tend to do the opposite because I want to control the consistency; You want the grout to be a bit looser than the consistency of toothpaste (although some say it's best to be looser than mayonnaise). I prefer it to be thicker. Apply the grout generously with a putty knife or small trowel making sure to fill in all of the cracks especially the edges (you don't want any little holes- best to have too much grout than not enough). Once you feel you've covered all of the cracks, take your clean, damp sponge (with your old bucket of water), working in small sections at a time, remove excess grout. Rinse your sponge very often in between the removing process. Keep doing removing and rinsing until you're satisfied with the thickness of the grout. Make sure to remove all excess grout around the edges (once the grout dries it becomes like cement and it'll ruin your beautiful project). After you're done this, let the grout dry for a day.
7. Take another sponge (new or clean one), with water and a bit of soap, clean the surface of your project. You're done!!
Now you can admire your tray!! Be proud of the great job you've done!